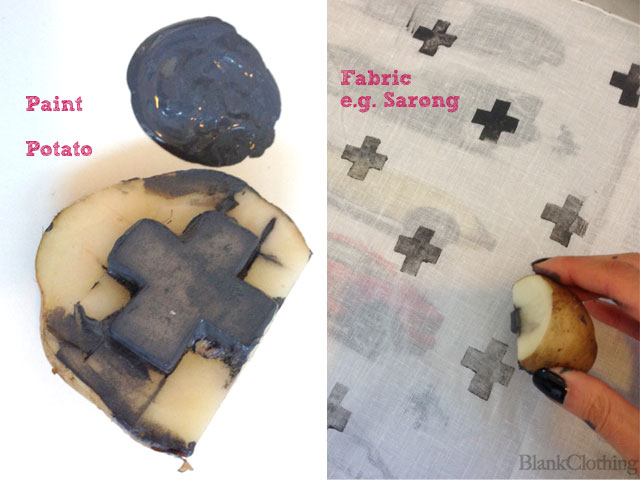
Who didn't love potato stamping when they
were little? It is such an easy DIY craft to redo as an adult. Since I was
helping at a community fair, I thought it would be a great way to test this out
with some table cloth covers.
It was a really easy project that didn't take
longer than a few hours (most of it, just prepping and drying)
All you need is:
- Potato
- Knife
- Paint
- Fabric (we’re using the sarongs from blankclothing)
- Newspaper
- Cardboard (anything non-absorbent will
do)
- Plate
Optional material
- Iron

- I used some white linen sarongs
from Blank Clothing and iron them flat. I placed some newspaper under the
clothe just in case (plus my linen sarong is quite a sheer fabric.) FYI: I also did
this in the laundry just in case of any accidents.
- Cut potato in half and cut out
your design. It does help to draw on your design with a pen (this was a little
harder than I imagined as the potato was wet and didn't absorb the pen ink.) I
used an old art scalpel blade for more precise cutting.
- Put some paint on a plate (hint:
spread it out thin) and press your potato stamp lightly into the paint.
- Next lightly stamp onto a
cardboard to remove excess paint and for a lighter “stamp pattern.” This is the
best tip for a cleaner result. As my first few attempts were too wet and
sploggy.
- Create your design!
- Hang to dry & your done :)


How easy is that? It was very satisfying
having a little project you can complete within a few hours. I was very happy
with the results.
You
can stamp on anything from tshirts to aprons and hats! The list is endless.
Just use a fabric paint if you want to wash the item in the future.


